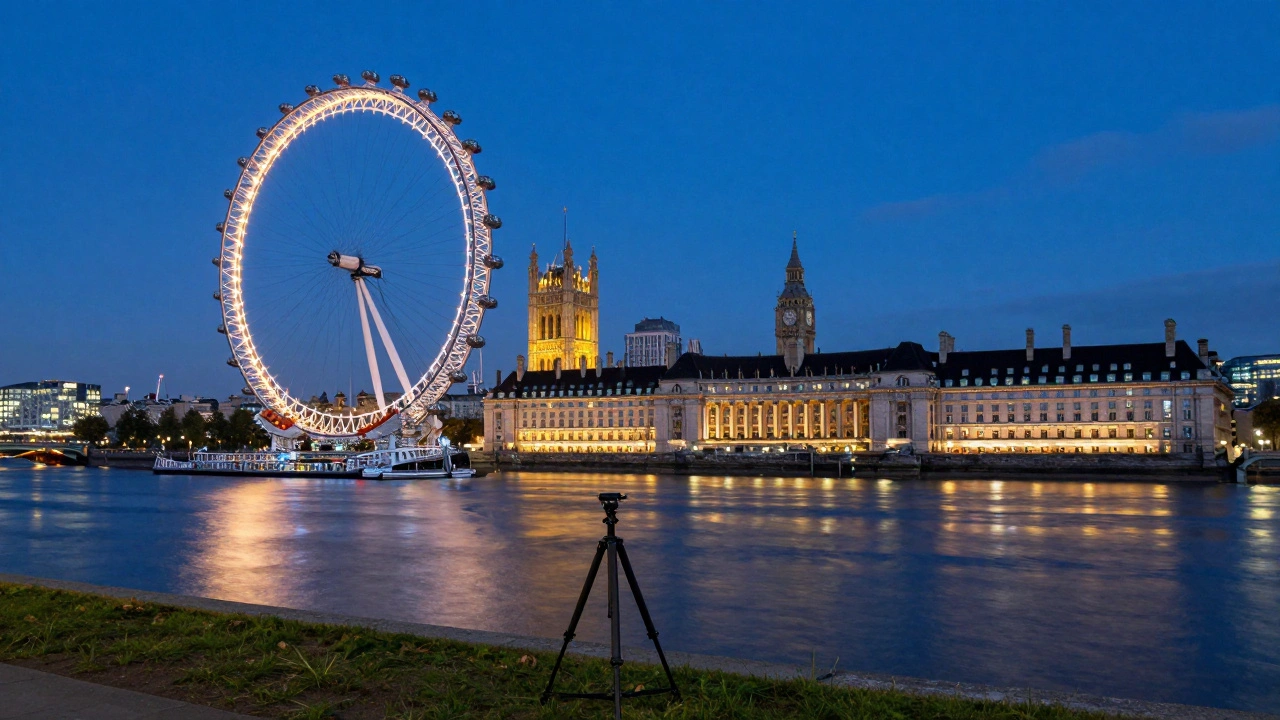
Most people think the London Eye is a giant observation wheel on the South Bank of the River Thames that offers panoramic views of London's skyline looks best during the day. They’re wrong. The magic happens after sunset, when the city lights reflect off the water and the ferris wheel itself becomes a beacon of light against the dark sky. But capturing this scene isn't as simple as pointing your phone and clicking. You need to master long-exposure photography to get those smooth, silky waters and sharp, glowing lights.
If you've ever tried taking night photos in London and ended up with blurry messes or grainy noise, this guide is for you. We'll walk through exactly how to set up your gear, where to stand, and what settings to use to nail that perfect shot of the London Eye at night.
Why Long Exposure Changes Everything
Long exposure photography involves keeping your camera's shutter open for an extended period-anywhere from a fraction of a second to several minutes. This technique does two things that are crucial for night cityscapes. First, it gathers enough light to make your image bright without cranking up the ISO (which introduces ugly digital noise). Second, it blurs moving elements like water and clouds while keeping stationary objects like buildings and the London Eye sharp.
The result? A dreamy, ethereal look where the River Thames turns into a smooth mirror, and the streaks of light from boats create dynamic lines across the frame. It’s not just about technical skill; it’s about creating a mood that daytime photos simply can’t match.
Gear Up: What You Actually Need
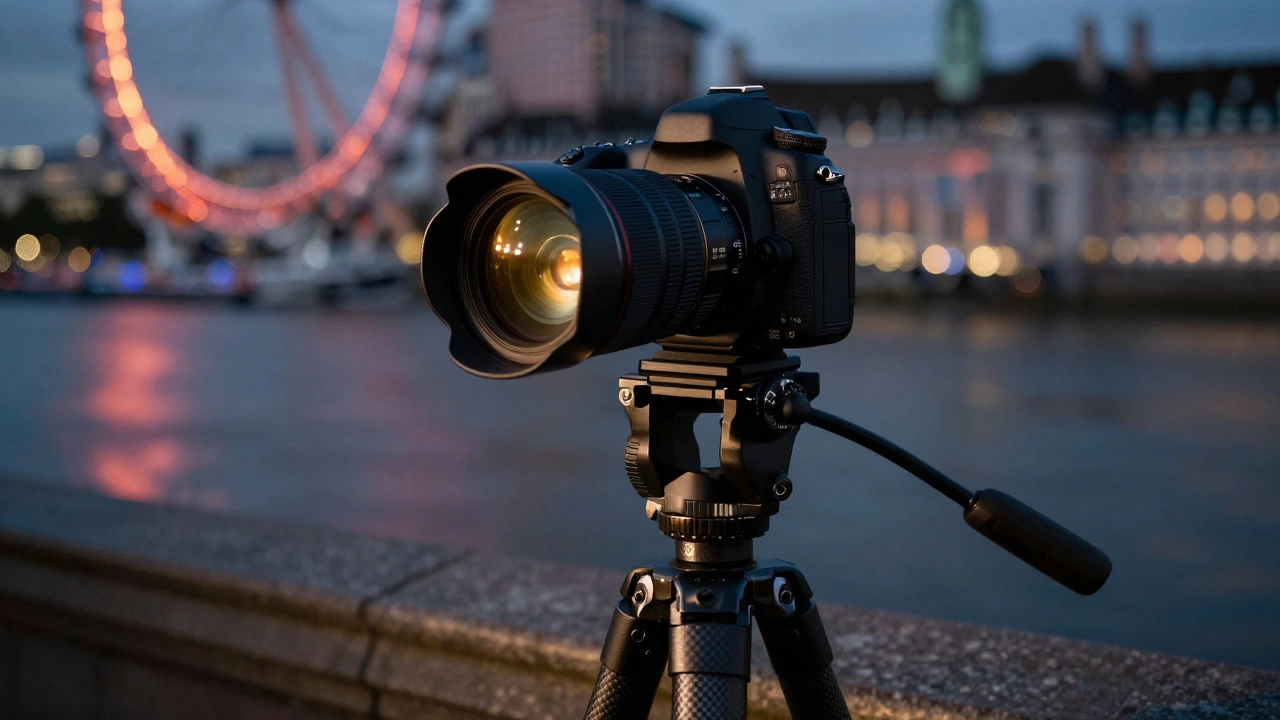
You don’t need a $5,000 setup to take great night photos, but you do need the right tools. Here’s the essential kit:
- A sturdy tripod: This is non-negotiable. Any movement during a long exposure will ruin your shot. Look for one that’s lightweight but stable enough to handle wind near the river.
- A remote shutter release or intervalometer: Pressing the shutter button manually shakes the camera. Use a remote control, or even better, your camera’s self-timer (set to 2 seconds) to avoid this shake.
- A neutral density (ND) filter: If you're shooting during twilight or if there’s still some ambient light, an ND filter acts like sunglasses for your lens, allowing you to use slower shutter speeds without overexposing the image.
- A wide-angle lens: To capture the full scale of the London Eye and its surroundings, a lens between 14mm and 24mm (on a full-frame camera) works best. It lets you include more of the scene and creates a sense of grandeur.
- Extra batteries: Cold nights and long exposures drain battery life faster than you’d expect. Bring spares.
Best Spots Along the Thames
Where you stand matters almost as much as your camera settings. Here are the top three locations for photographing the London Eye at night:
- Victoria Embankment Gardens: Located directly opposite the Eye on the north bank, this spot offers a straight-on view with the Houses of Parliament and Big Ben in the background. It’s iconic, but crowded. Arrive early to secure a good tripod position.
- County Hall Riverside Terrace: Just west of the Eye, this terrace provides a side angle that includes the Shard in the distance. The reflection in the Thames here is often clearer because the water is calmer.
- Southbank Centre Steps: For a lower-angle shot, head to the steps near the Royal Festival Hall. This perspective emphasizes the height of the Eye and allows you to include the bustling activity of the South Bank promenade in the foreground.
Camera Settings: The Golden Rules
Getting the settings right is where most beginners struggle. Here’s a step-by-step approach to dialing in your exposure:
1. Shoot in Manual Mode
Auto modes won’t cut it. Switch to Manual (M) mode so you have full control over aperture, shutter speed, and ISO.
2. Set Your Aperture
Use an aperture between f/8 and f/11. This range provides a deep depth of field, ensuring everything from the foreground to the distant skyline is sharp. Avoid going wider than f/5.6, as corners may become soft, and avoid stopping down beyond f/16, which can introduce diffraction (softening the image).
3. Choose Your Shutter Speed
This is the creative variable. Start with 10-30 seconds. Shorter exposures (2-5 seconds) will show ripples in the water, while longer ones (30+ seconds) will turn the Thames into glass. Experiment! If the image is too bright, increase the shutter speed or add an ND filter. If it’s too dark, slow it down.
4. Keep ISO Low
Set your ISO to 100 or 200. Higher ISOs introduce noise, which is especially visible in the dark areas of night photos. Since you’re using a tripod and long shutter speeds, you don’t need high sensitivity.
5. Focus Manually
Autofocus struggles in low light. Switch to manual focus and use live view to zoom in on a bright light source (like a streetlamp on the Eye) until it’s sharp. Alternatively, use the hyperfocal distance technique for maximum sharpness throughout the scene.
Composition Tricks for Stunning Shots
Technical perfection means nothing if your composition is boring. Here’s how to make your London Eye photos pop:
- Include Foreground Interest: Don’t just shoot the Eye. Include railings, statues, or people walking by. This adds depth and context. A blurred figure passing by can add a human element and a sense of motion.
- Use Leading Lines: The Thames, the embankment walls, and even the rows of lights on the South Bank act as leading lines that draw the viewer’s eye toward the Eye.
- Wait for Blue Hour: The time just after sunset, known as blue hour, offers a beautiful contrast between the warm artificial lights and the cool blue sky. It’s the sweet spot for color balance.
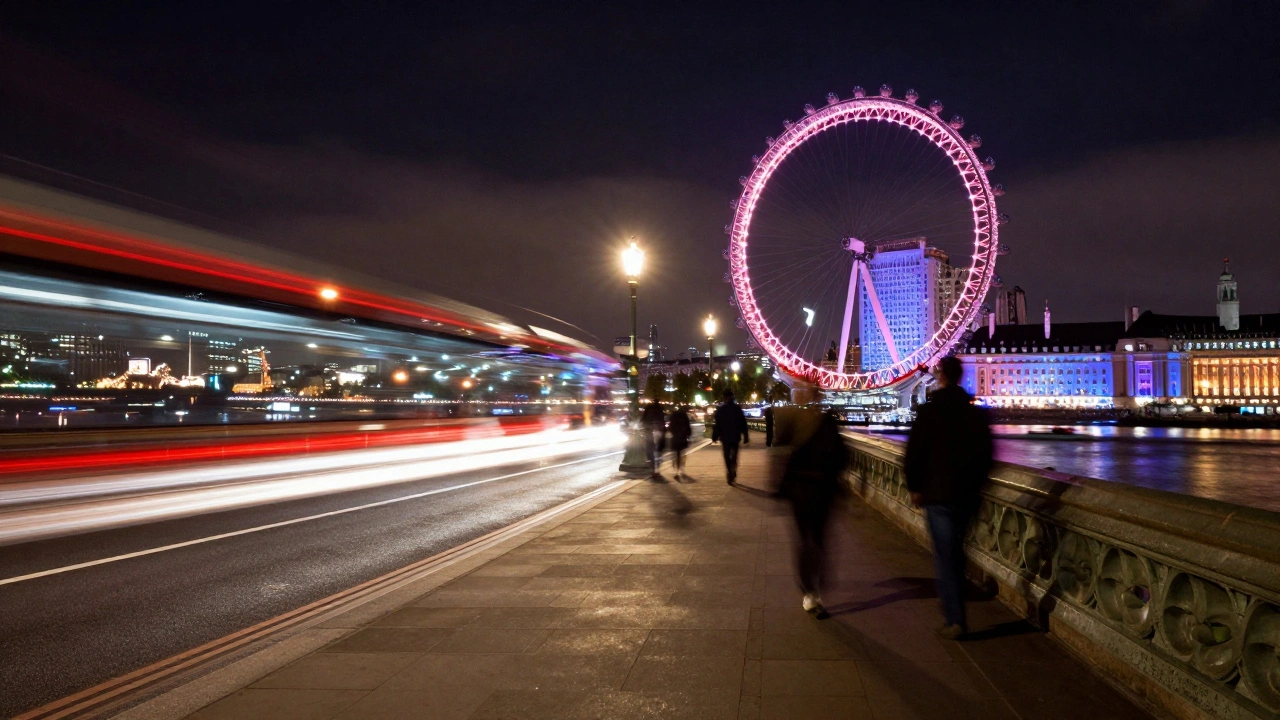
- Capture Light Trails: If you’re near Westminster Bridge, wait for buses or cars to pass. Their headlights and taillights will create vibrant red and white streaks that add energy to the static scene.
Common Mistakes to Avoid
Even experienced photographers trip up sometimes. Watch out for these pitfalls:
- Ignoring Vibration: Even on a tripod, vibrations from footsteps or wind can blur your image. Use a remote shutter and stabilize your tripod by hanging a small weight from its center column.
- Overexposing Highlights: Bright lights can blow out details. Check your histogram and ensure the right edge isn’t clipped. It’s easier to recover shadows in post-processing than blown-out highlights.
- Forgetting White Balance: Auto white balance can give unpredictable results at night. Set it to Tungsten (around 3200K) or Daylight (5500K) depending on the mood you want, or shoot in RAW to adjust later.
- Neglecting Post-Processing: Long exposure photos often benefit from editing. Adjust contrast, clarity, and colors to enhance the mood. Tools like Adobe Lightroom or Capture One are invaluable here.
Timing Is Everything
The best time to shoot depends on the season. In May 2026, sunset in London is around 9:00 PM, meaning blue hour lasts until about 9:30 PM. Plan to arrive at least an hour before sunset to scout your location and set up your gear. If you miss blue hour, don’t worry-shooting later into the night gives you darker skies and more pronounced reflections, but you’ll need longer shutter speeds.
Can I take long-exposure photos of the London Eye with my smartphone?
Yes, many modern smartphones have a "Night Mode" or "Pro Mode" that allows for longer exposures. However, you’ll still need a tripod to keep the phone steady. Apps like ProCam or Halide offer more manual control over shutter speed and ISO, giving you results closer to a dedicated camera.
Do I need a permit to use a tripod near the London Eye?
For personal, non-commercial photography, you generally don’t need a permit. However, commercial shoots or setups that obstruct public pathways may require permission from the City of Westminster or relevant authorities. Always be mindful of other pedestrians and keep your gear tidy.
What if it rains? Can I still shoot?
Rain can actually create stunning reflections and moody atmospheres. Protect your gear with a rain cover or a plastic bag, and be careful with wet surfaces. Raindrops on your lens can distort the image, so keep a microfiber cloth handy to wipe them away.
How do I deal with tourists walking into my shot?
Patience is key. Wait for gaps in foot traffic, or embrace the chaos by using a longer exposure to blur people out. Alternatively, incorporate them into your composition as part of the scene. Crowds add life and scale to urban landscapes.
Is it safe to shoot at night near the Thames?
Generally, yes, especially in well-lit areas like Victoria Embankment. However, always stay aware of your surroundings, keep your gear close, and avoid isolated spots late at night. Let someone know where you are and plan your exit route beforehand.