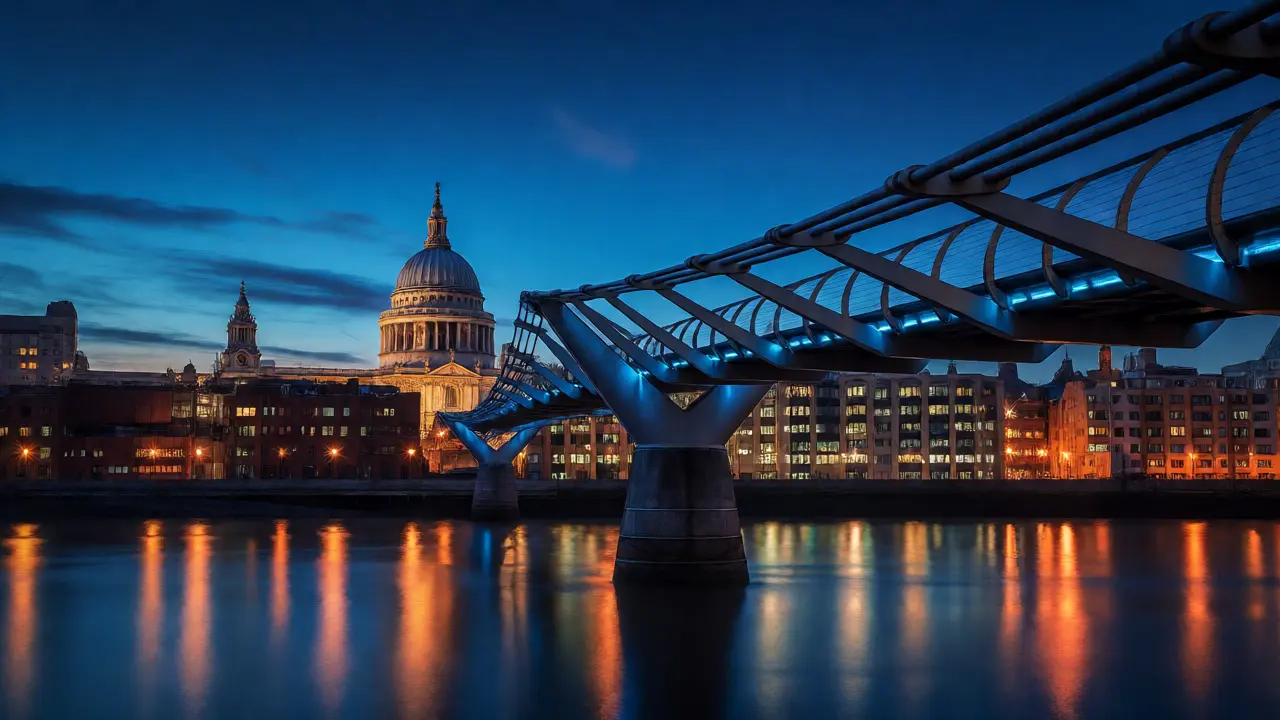
You’ve probably seen those photos of London where the sky is a deep, electric indigo, the streetlights are just starting to hum with life, and the Thames looks like a mirror for the Shard. That’s the Blue Hour - that magical window of time right after sunset (or before sunrise) when the sun is below the horizon but still casts enough light to balance the artificial city glow. It’s not just a pretty filter; it’s a specific astronomical condition that photographers chase because it solves the biggest problem in urban night shooting: contrast. The sky isn’t pitch black yet, so you don’t have to choose between a blown-out building or a dark, noisy sky.
But here’s the thing about London during the blue hour: it’s crowded, it’s cold, and if you’re standing in the wrong spot, you’ll get nothing but tourists’ backs and bad angles. You need to know exactly where to stand, when to show up, and how to set your camera to capture those crisp reflections without turning your image into a blurry mess. This guide cuts through the noise. We aren’t listing every bridge in the city. We’re giving you the five spots that actually deliver postcard-perfect shots, the timing rules that change with the seasons, and the technical tweaks that separate amateur snapshots from pro-level captures.
Why the Blue Hour Beats Golden Hour in London
Most beginners obsess over the Golden Hour, that warm, soft light right before the sun dips. And sure, it’s beautiful. But in a dense concrete jungle like London, golden hour often means harsh shadows cast by skyscrapers and a sky that goes from bright orange to dull gray too fast. The Blue Hour, typically lasting only 20 to 40 minutes depending on the season, offers something different: balance.
During this phase, the ambient natural light matches the intensity of the city’s artificial lighting. This allows your camera sensor to record both the colorful sky and the illuminated architecture without one overpowering the other. If you shoot at night, you lose the sky entirely. If you shoot during the day, the lights look off. The blue hour is the sweet spot where London looks most alive.
| Time Phase | Sky Color | City Lights | Contrast Level | Best For |
|---|---|---|---|---|
| Golden Hour | Orange/Yellow | Off or Dim | High | Warm portraits, parks |
| Blue Hour | Deep Indigo/Teal | On/Bright | Balanced | Skyline reflections, bridges |
| Night | Black/Dark Gray | Very Bright | Extreme | Star trails, neon signs |
The Prime Locations for Reflections
Reflections are the secret sauce of blue hour photography. Without water or glass, you’re just taking a picture of buildings. With them, you double the visual interest. Here are the spots where the geometry works in your favor.
Millennium Bridge: The Iconic Alignment
This is the cliché for a reason. Walking across the Millennium Bridge towards St Paul’s Cathedral gives you a clean, unobstructed line of sight. But everyone shoots from the middle. To get the shot that pops, wait until the pedestrian traffic thins out slightly near the end of the bridge, closer to the Tate Modern side. Use the bridge’s steel cables as leading lines pointing directly at the dome of St Paul’s. The reflection here isn’t in the river itself (the current is too choppy), but rather in the wet pavement after rain or in the glass facades of the nearby City Hall building.
Tower Bridge: The Classic Symmetry
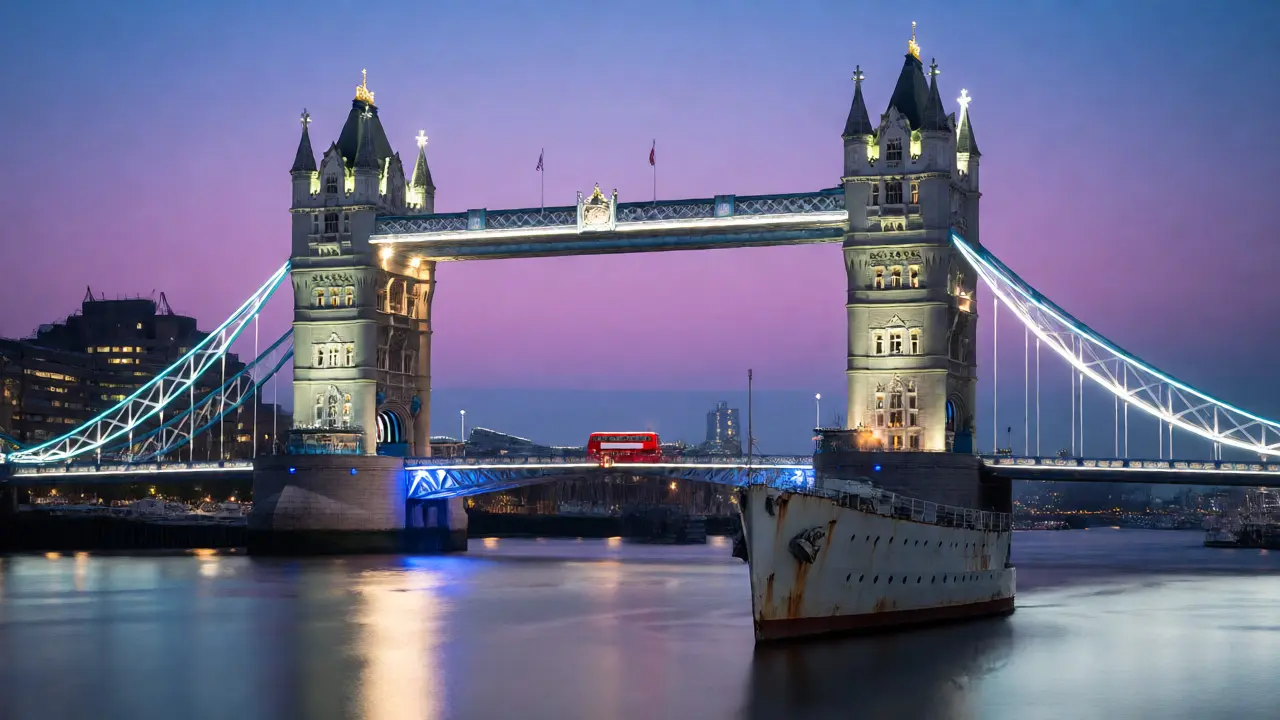
If you want symmetry, head to the north bank of the Thames, specifically the area around Potters Fields Park. From here, Tower Bridge sits perfectly centered against the skyline. The key here is patience. You’re waiting for a boat to pass under the bridge. A red double-decker bus crossing the upper walkway adds a splash of color that contrasts beautifully with the cool blue tones of the sky. Don’t forget to include the HMS Belfast in your foreground if you can angle it right; its rusted hull provides texture against the smooth modern lines of the bridge.
Canary Wharf: The Modern Mirror
For a more futuristic vibe, skip Central London and take the DLR to Canary Wharf. The Docklands Light Railway drops you right next to the water. Here, the tall glass skyscrapers act as massive mirrors. Shoot from the Jubilee Plaza looking west. The glass surfaces reflect the purple and blue hues of the twilight sky, creating an infinite corridor effect. This spot is less crowded than central tourist traps, giving you more freedom to set up a tripod without someone walking into your frame.
Primrose Hill: The Panoramic View
Not all reflections come from water. Primrose Hill offers an elevated perspective where the city lights themselves become the subject. While you won’t get a literal reflection in water, the spread of lights against the darkening sky creates a sense of depth that ground-level shots can’t match. Bring a wide-angle lens. Position yourself so the cluster of lights in the distance feels vast. This is also a great spot for capturing the transition from dusk to true night if you miss the exact blue hour window.
South Bank Walk: The Street Level Glow
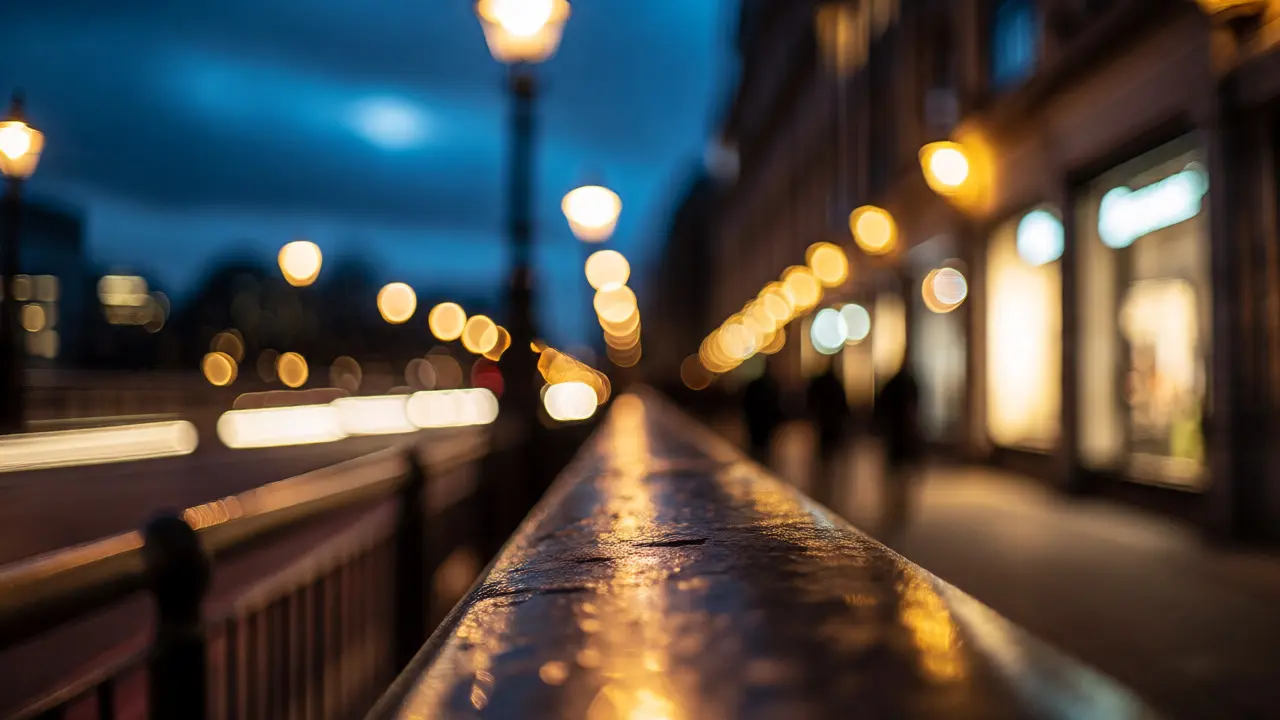
Sometimes the best shots aren’t grand skylines but intimate details. The South Bank path, particularly between Waterloo Bridge and Blackfriars Bridge, is lined with street lamps and shop windows. During blue hour, these lights create long streaks if you use a slow shutter speed. Stand low, close to the railing, and let the bokeh of the background lights blur out while keeping the foreground sharp. This technique turns ordinary street scenes into dreamy, cinematic frames.
Capturing the Light: Technical Settings
Knowing where to go is half the battle. Knowing how to configure your gear is the other half. The blue hour moves fast, so you don’t have time to fiddle with menus for ten minutes per shot.
- ISO: Keep it low. Aim for ISO 100 or 200. Because there is still some ambient light, you don’t need to crank up the sensitivity. High ISO introduces noise, which ruins the smooth gradient of the blue sky.
- Aperture: Use f/8 to f/11. This ensures that everything from the foreground rocks to the distant buildings stays sharp. If you want starbursts from streetlights, stop down to f/16, but be prepared for longer exposure times.
- Shutter Speed: This varies wildly. Start with 1/15th of a second and adjust. If you want silky water reflections, aim for 2-5 seconds. If you’re handheld, keep it above 1/30th to avoid blur.
- White Balance: Set this manually to around 3500K-4000K. Auto white balance often tries to correct the blue tint, making the sky look gray. You want to preserve that cool, moody atmosphere.
Don’t forget the tripod. Handholding a 4-second exposure is a gamble. Even with image stabilization, a sturdy tripod locks in the sharpness needed for professional-looking results. If you don’t have one, lean your camera against a wall or use a beanbag on a railing.
Timing Your Visit: Seasonal Shifts
The blue hour doesn’t happen at the same time every day. In October 2026, sunset in London will occur roughly between 6:00 PM and 7:30 PM, depending on whether you’re at the start or end of the month. The blue hour begins immediately after sunset and lasts until civil twilight ends.
Use an app like PhotoPills or The Photographer’s Ephemeris to check the exact minute the sun sets. Arrive 15 minutes early. You need time to scout your composition, set up your tripod, and focus manually. Autofocus struggles in low light, so switch to manual focus and zoom in on a bright light source to ensure sharpness before you pull back to compose.
Pitfalls to Avoid
First, don’t ignore the wind. Tall structures amplify wind, and even a slight breeze can shake your tripod during long exposures. Hang your camera bag from the center column of your tripod to add weight and stability.
Second, watch out for condensation. As temperatures drop, moisture can form on your lens. Carry a microfiber cloth and wipe your front element regularly. Foggy lenses ruin otherwise perfect shots.
Third, respect private property. Some of the best angles in Canary Wharf or along the South Bank might technically be on private land. Stick to public pathways unless you have permission. Security guards in financial districts are strict about tripods blocking entrances.
Next Steps for Better Results
Once you’ve mastered the basics, try experimenting with HDR (High Dynamic Range). Take three bracketed shots-one for the shadows, one for the midtones, and one for the highlights-and merge them in post-processing. This helps recover detail in the darkest parts of the buildings while keeping the sky vibrant.
Also, consider adding human elements. A lone figure walking across Westminster Bridge adds scale and story to an otherwise static architectural shot. Time your release to catch someone stepping into a pool of light.
How long does the blue hour last in London?
It typically lasts between 20 and 40 minutes, depending on the time of year. In summer, the transition is slower due to higher latitude, while in winter, it happens quickly. Always arrive 15 minutes before sunset to prepare.
Do I need a special filter for blue hour photography?
No, a polarizing filter is usually unnecessary and can darken the sky too much. However, a neutral density (ND) filter can help if you want very long exposures to smooth out river traffic during brighter parts of the blue hour.
Which lens is best for London skyline shots?
A wide-angle lens (16-35mm) is ideal for capturing the breadth of the skyline and including foreground elements like bridges or rivers. A telephoto lens (70-200mm) can compress the scene, making buildings appear closer together, which is great for isolating specific landmarks like Big Ben.
Is it safe to photograph alone at night in London?
Yes, main tourist areas like the South Bank and Millennium Bridge are well-lit and patrolled. However, stay aware of your surroundings, especially if using headphones. Avoid secluded areas away from foot traffic once it gets fully dark.
What is the best way to handle camera shake?
Always use a remote shutter release or your camera’s self-timer (2-second delay). Pressing the button manually can introduce vibration, which blurs long exposures. If you don’t have a remote, use the self-timer.