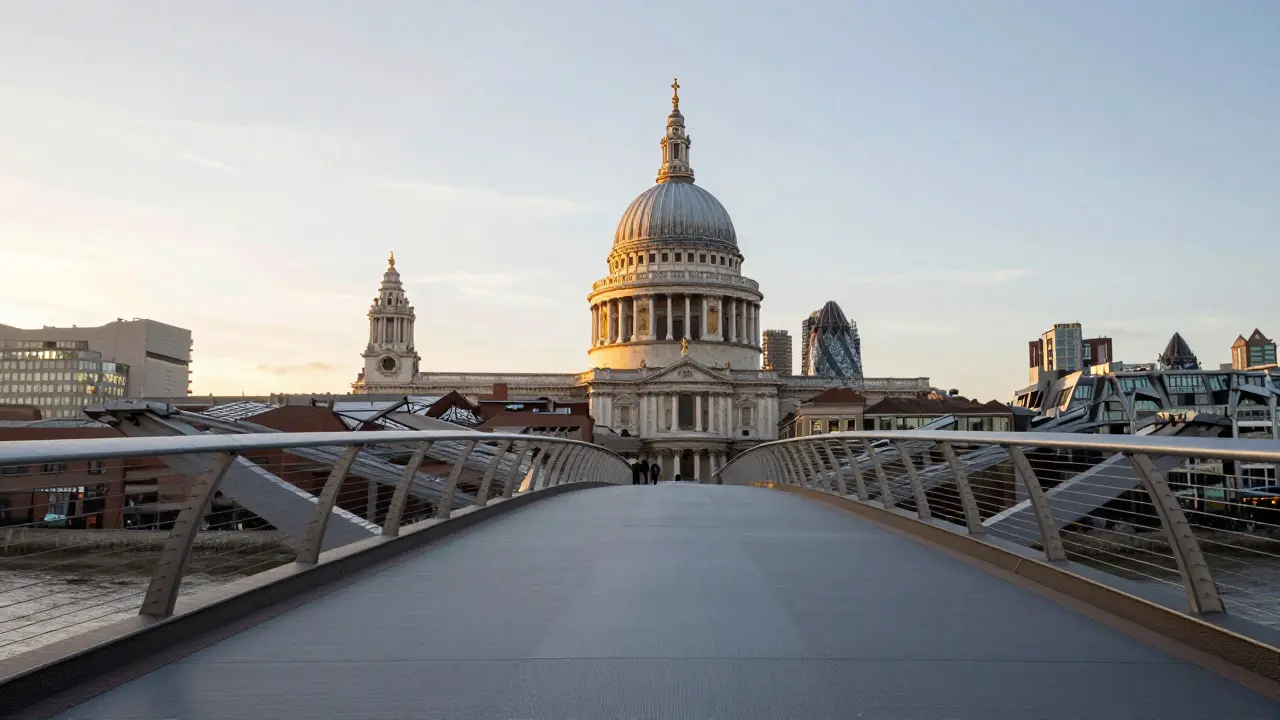
Standing in the middle of the Millennium Bridge is a type of pedestrian footbridge that connects the Tate Modern to St Paul’s Cathedral. It offers one of the most iconic views in central London, but getting the perfect shot requires more than just pointing your camera. Many tourists miss the best angles because they stand in the wrong spot or ignore the changing light. This guide breaks down exactly where to stand, when to shoot, and how to frame the bridge for professional-looking results without needing expensive gear.
Why the Millennium Bridge Is a Photographer’s Dream
The bridge was designed by architect Norman Foster and engineer Sebastian Munro, opening in 2000. Its sleek, low-profile steel design sits just 1.5 meters above the River Thames, creating a unique visual line that cuts through the cityscape. Unlike older bridges like Tower Bridge, which are cluttered with traffic and historical details, the Millennium Bridge offers a clean, modern aesthetic. This simplicity makes it ideal for both minimalist compositions and dramatic wide-angle shots. The key attribute here is its transparency; you can see the water beneath your feet and the buildings towering above, allowing for layered depth in your images.
For photographers, the bridge serves as a natural leading line. Your eye is drawn from the foreground (the bridge deck) toward the background (St Paul’s Dome). This compositional tool helps create dynamic images even if you aren’t a pro. However, the crowd can be a challenge. During peak hours, the bridge fills up with people, which can distract from the architecture. Understanding the flow of pedestrians is just as important as knowing the lighting conditions.
Best Times to Shoot: Light and Crowds
Lighting is everything in urban photography. The Millennium Bridge runs roughly east-west, meaning the sun rises behind the Tate Modern and sets behind St Paul’s Cathedral. Here is how to use that to your advantage:
- Sunrise (6:00 AM - 8:00 AM): The light hits the north side of St Paul’s Cathedral, illuminating the dome in soft golden tones. The bridge is nearly empty, giving you clean lines. The air is crisp, often adding a slight haze that softens distant buildings.
- Midday (11:00 AM - 2:00 PM): Harsh overhead light creates strong shadows under the arches of the cathedral. This is generally not recommended unless you want high-contrast black-and-white images. The crowds are thickest here due to lunchtime visitors.
- Sunset (4:00 PM - 7:00 PM, varies by season): The sun sets behind St Paul’s, casting long shadows across the bridge. The dome glows orange against the blue sky. This is the most popular time, so expect crowds. Arrive at least 30 minutes early to secure a spot on the south side.
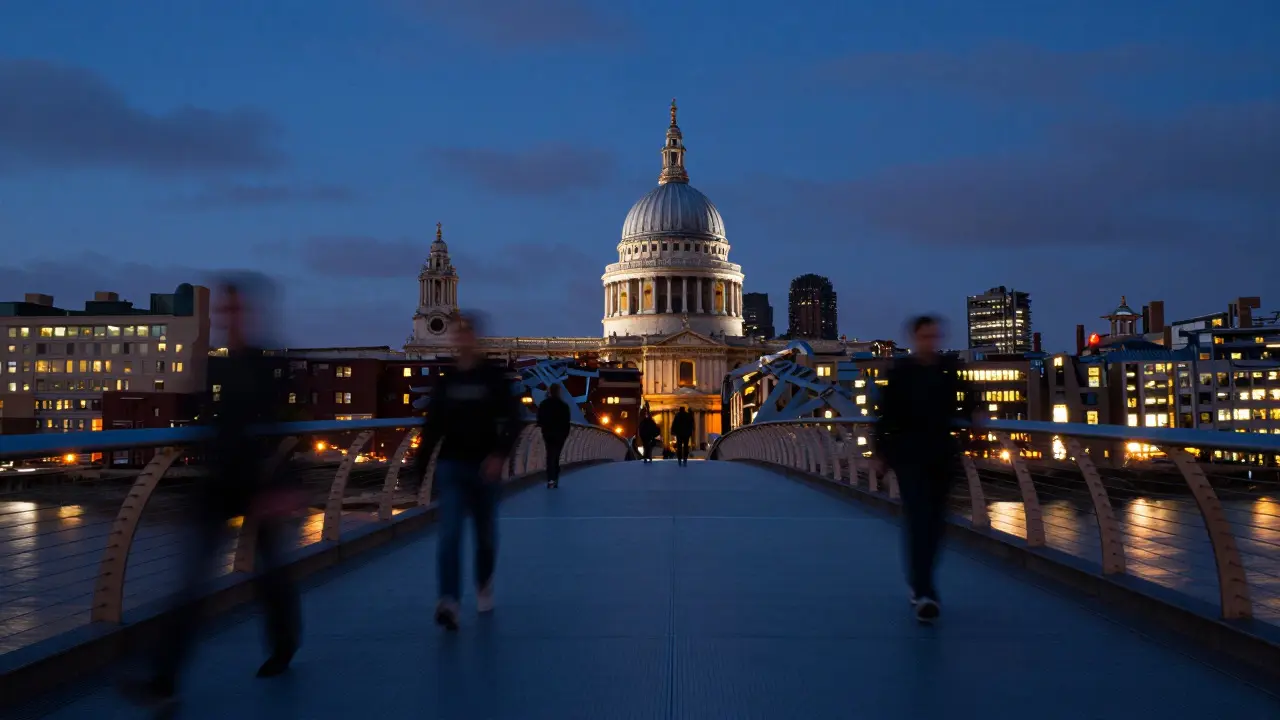
- Blue Hour (30 mins after sunset): The sky turns deep blue while the city lights come on. The bridge’s steel structure reflects the ambient light, creating a moody, atmospheric look. This is perfect for long-exposure shots if you have a tripod.
A pro tip: Check the weather forecast for cloud cover. A clear sky gives vibrant colors, but a broken cloud layer can add drama to the composition. Avoid completely overcast days if you want rich colors, but embrace them if you prefer muted, tonal images.
Top Five Photo Spots on the Bridge
Not every part of the bridge offers the same view. Here are the specific locations you should target, mapped out from the Tate Modern side to the St Paul’s side.
- The Tate Modern Entrance (West End): Stand here to capture the full length of the bridge stretching toward St Paul’s. This is the classic postcard view. Frame the image so the bridge occupies the lower third, leaving two-thirds for the sky and the cathedral. Use a wide-angle lens (16-35mm equivalent) to exaggerate the perspective.
- One-Third Mark from West: Move about 20 meters onto the bridge. This angle allows you to include the Gherkin (30 St Mary Axe) in the left background and St Paul’s on the right. It creates a balanced composition mixing modern and historic architecture.
- The Center Point: Standing dead center offers a symmetrical view. Look straight ahead to align the bridge’s railing with the base of St Paul’s dome. This works well for portrait orientation, emphasizing the height of the cathedral.
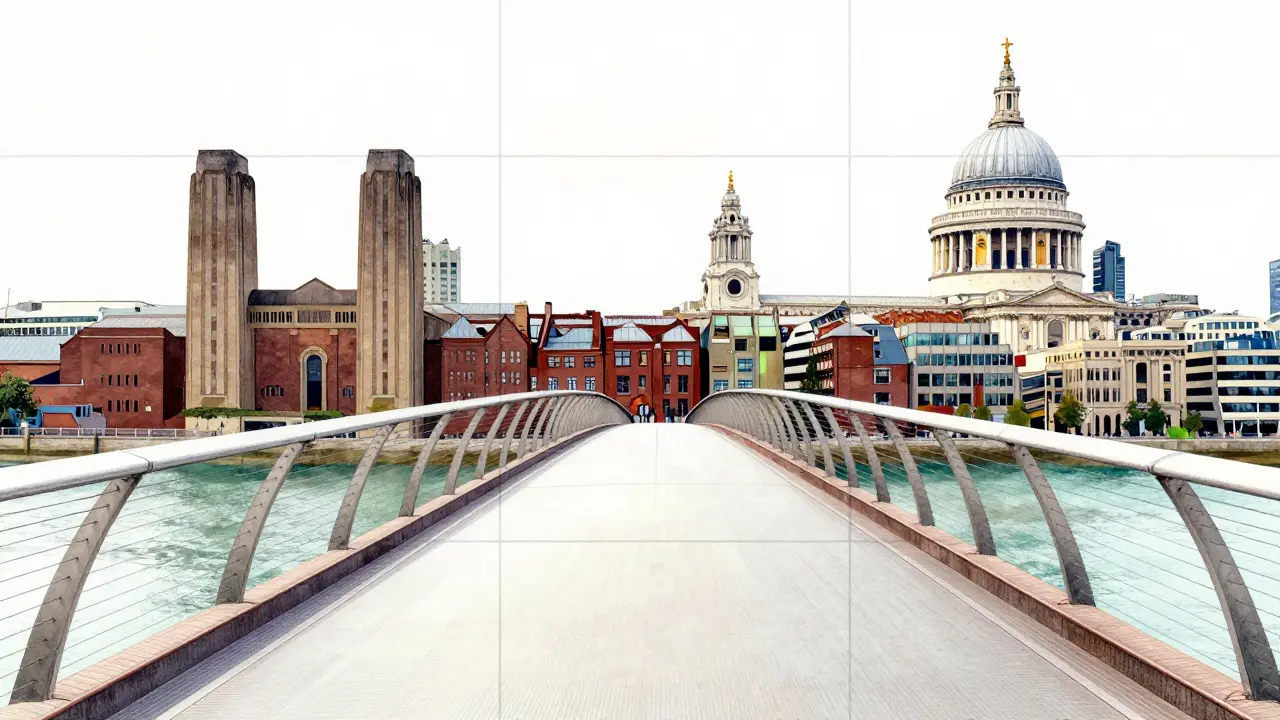
- One-Third Mark from East: Now facing back toward the Tate Modern, you get a view of the river and the South Bank. The bridge acts as a frame for the industrial brickwork of the former power station. This is less crowded and offers a different mood.
- The St Paul’s Entrance (East End): Step off the bridge onto the pavement outside the cathedral. Look back along the bridge. You can capture the curve of the bridge meeting the stone steps of the cathedral. This is a great spot for including people in the shot, showing scale.
Lens and Camera Settings for Urban Scapes
You don’t need a professional camera to take great photos here. A modern smartphone with a good sensor will work fine. However, understanding basic settings helps you control the outcome.
- Focal Length: Use a wide-angle setting (zoomed out) to capture the expanse of the bridge and the surrounding city. If you are using a phone, stay on the default 1x or 0.5x zoom. Avoid digital zoom, which reduces quality.
- Aperture (if manual mode available): Set to f/8 or f/11. This ensures both the bridge in the foreground and the cathedral in the background are sharp. Avoid wide apertures like f/1.8, which blur the background too much.
- ISO: Keep it low (100-400) during the day to avoid grainy images. At night or during blue hour, you may need to raise it to 800-1600, but try to keep it under 3200 for best quality.
- Shutter Speed: In daylight, this is automatic. At night, if you have a tripod, use a slow shutter speed (10-30 seconds) to blur moving people into ghosts, clearing the bridge of distractions. Without a tripod, keep it fast (1/100s or higher) to freeze motion.
If you are shooting video, lock your exposure and white balance before starting. The bright sky and dark shadows on the bridge can cause your camera to constantly adjust, resulting in flickering footage.
Composing the Shot: Rules and Breaks
Composition is what separates a snapshot from a photograph. Here are three techniques specifically for the Millennium Bridge.
Rule of Thirds: Divide your screen into a 3x3 grid. Place the horizon line (where the bridge meets the sky or water) along the top or bottom horizontal line, not the center. Place St Paul’s dome on one of the vertical lines. This creates a more dynamic image than centering everything.
Leading Lines: The rails of the bridge are powerful leading lines. Ensure they point directly at your subject (usually the cathedral). If the lines seem to lead nowhere, adjust your position slightly left or right until they converge nicely.
Foreground Interest: Don’t leave the bottom of your frame empty. Include details like the texture of the steel plates, the shadows of pedestrians, or reflections in the puddles if it has rained. This adds depth and draws the viewer into the scene.
Break these rules intentionally. For example, a centered, symmetrical shot of the bridge looking straight at the dome can be strikingly powerful. Just make sure the alignment is perfect; any tilt ruins the effect.
Common Mistakes to Avoid
Even experienced photographers make errors here. Watch out for these pitfalls:
- Ignoring the Tilt: The bridge is slightly curved. If you hold your camera level, the horizon might look tilted. Use your camera’s bubble level or grid lines to ensure the vertical lines of the buildings are straight.
- Overcrowded Frames: If there are too many people, wait. People move quickly. Take a burst of photos and select the one with the fewest distracting figures. Alternatively, use a longer focal length to compress the scene and isolate specific areas.
- Flat Lighting: Shooting directly into the sun can wash out the bridge. Try to shoot with the sun at your side or behind you. If you must shoot into the sun, use HDR mode on your phone to balance the highlights and shadows.
- Missing the Context: Don’t just shoot the bridge. Include elements of the surrounding city, like the London Eye in the distance or the red double-decker buses passing underneath. This provides context and scale.
Comparison: Millennium Bridge vs. Other London Bridges
While the Millennium Bridge is excellent, it’s worth knowing how it compares to other nearby options for variety.
| Bridge | Best For | Crowd Level | Key View |
|---|---|---|---|
| Millennium Bridge | Modern minimalism, St Paul’s view | High (peak hours) | St Paul’s Cathedral, Gherkin |
| Tower Bridge | Historic architecture, river boats | Medium | Tower of London, Thames |
| Blackfriars Bridge | Classic cityscapes, Parliament | Medium | Big Ben, Westminster |
| London Bridge | Skyline panoramas, Shard | Low-Medium | The Shard, City Hall |
The Millennium Bridge stands out for its unobstructed view of St Paul’s. Tower Bridge is busier with cars and trains, making cleaner shots harder. Blackfriars offers a grander, classical feel but lacks the modern edge. Choose based on the mood you want: contemporary and sleek (Millennium), historic and busy (Tower), or classic and stately (Blackfriars).
FAQ
Is the Millennium Bridge free to walk on?
Yes, the Millennium Bridge is a public pedestrian crossing. There is no entry fee to walk across it or to take photos. You only pay if you enter the Tate Modern museum or St Paul’s Cathedral.
What is the best time of year to visit for photos?
Spring (April-May) and Autumn (September-October) offer the best balance of pleasant weather and lower crowds. Summer has longer days for golden hour but heavier tourist numbers. Winter has shorter days but clearer skies and fewer people, though it can be cold and wet.
Can I use a drone on the Millennium Bridge?
Generally, no. Drone flights within 5km of central London require specific permissions from the Civil Aviation Authority and local councils. It is safer and easier to stick to ground-level photography to avoid fines or confiscation.
How do I remove people from my photos easily?
The easiest method is to take multiple shots in rapid succession. Since people move quickly, some frames will have gaps in the crowd. You can then blend these images in editing software. Alternatively, shoot during early morning or late evening when foot traffic is minimal.
Does the bridge vibrate? Will it affect my photos?
The original design had issues with lateral vibration, known as 'galloping,' which was fixed with dampers in 2009. Today, the bridge is stable. Unless you are using very slow shutter speeds without a tripod, vibration will not affect your photos.